
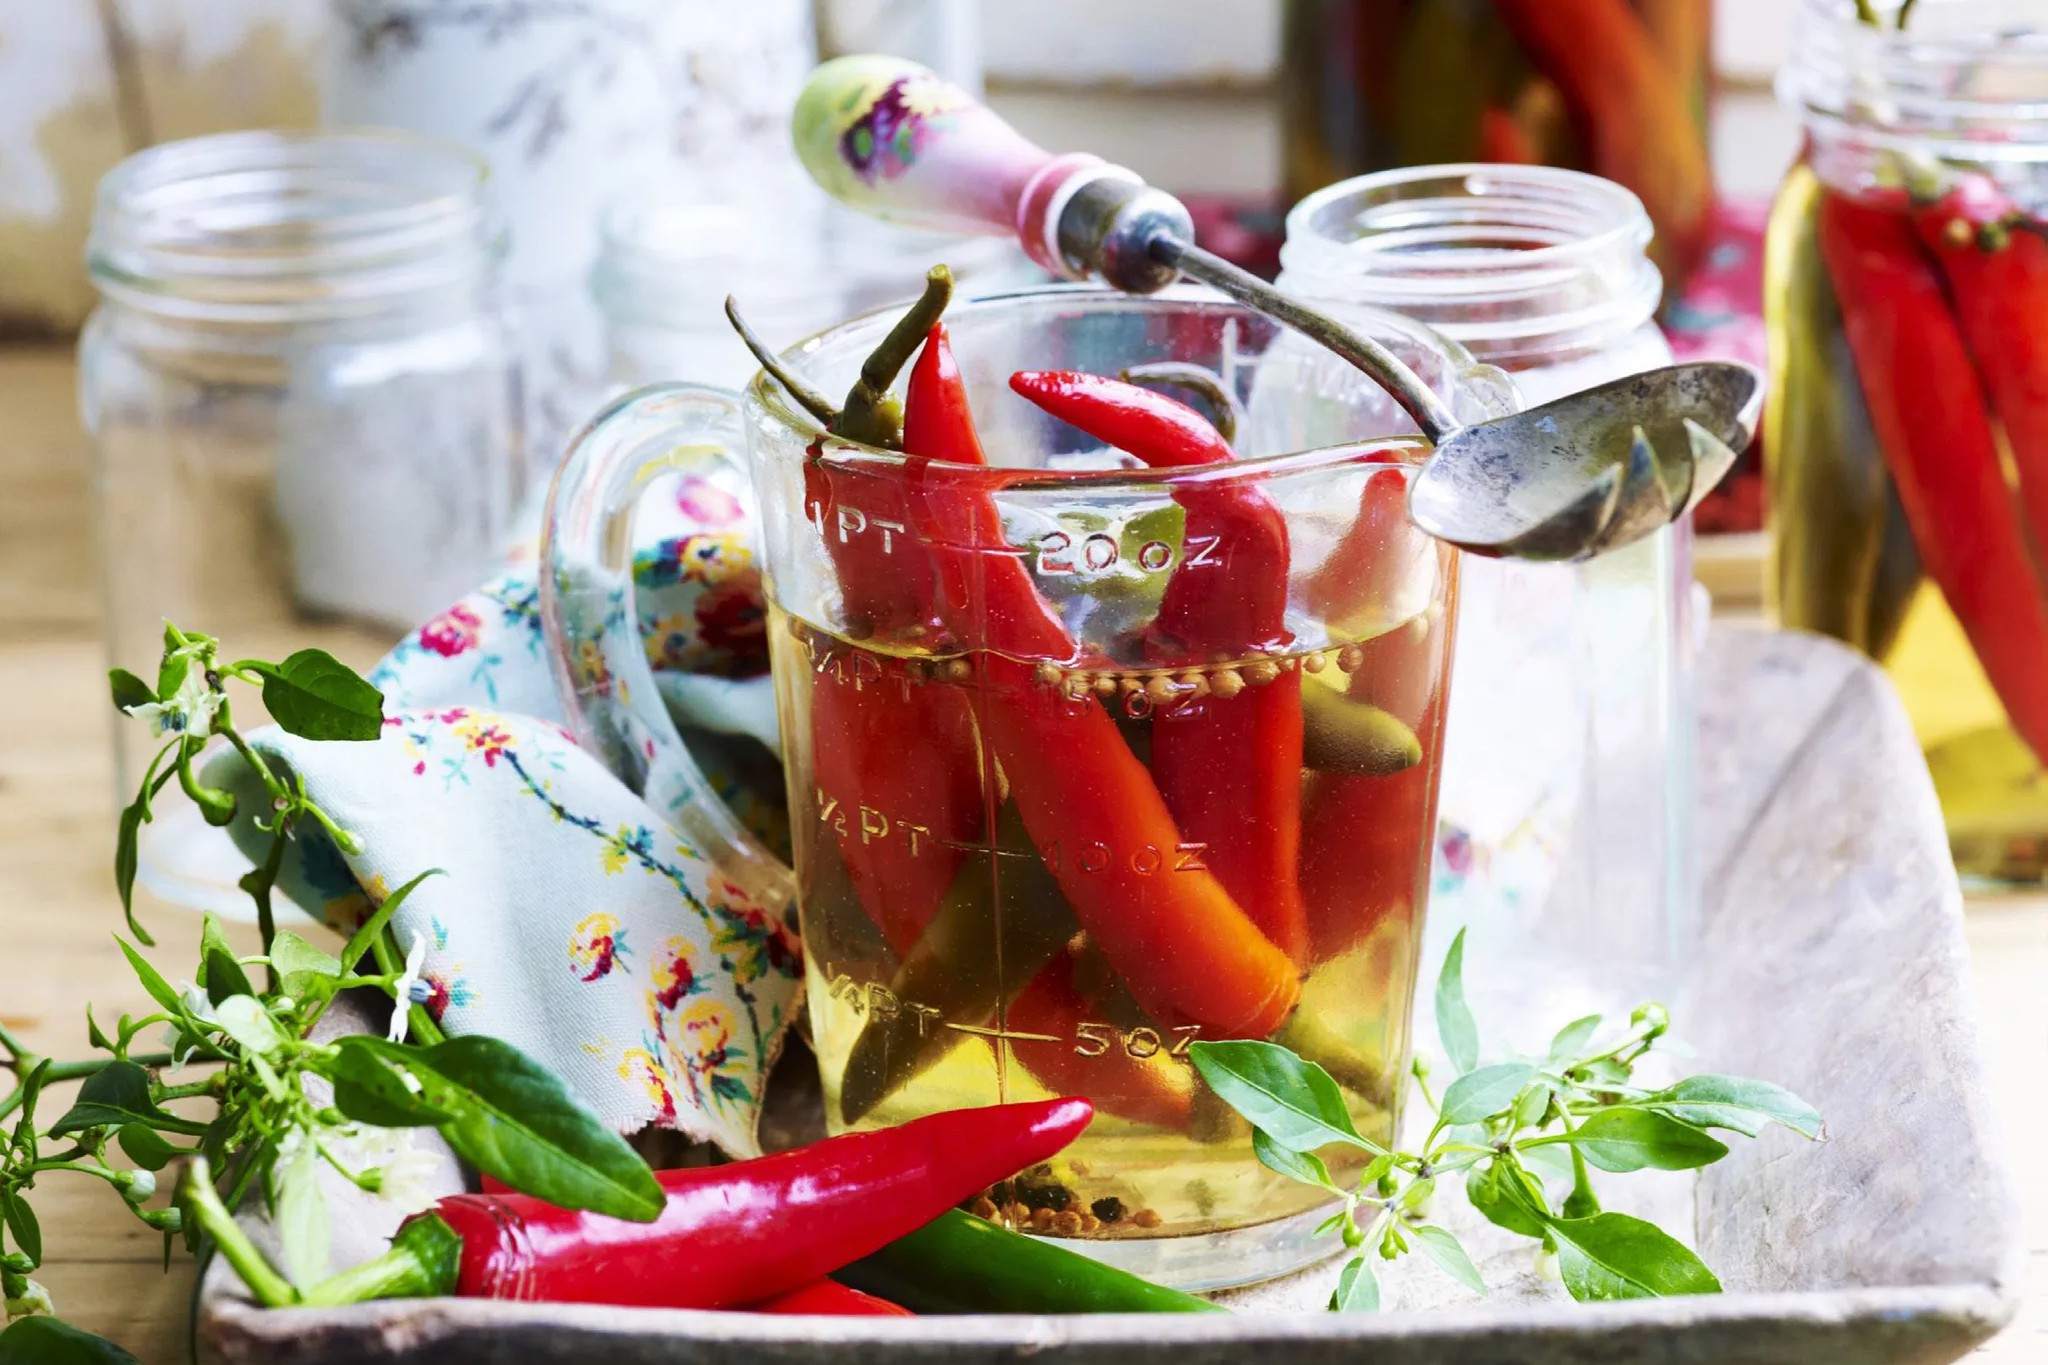
Pickled chilies are a fantastic way to add a burst of flavor and heat to a variety of dishes. This simple recipe allows you to preserve the vibrant taste of fresh chilies, making them a versatile condiment that can be used in everything from sandwiches to stir-fries. The tangy, spicy kick of pickled chilies is sure to elevate your culinary creations.
While most of the ingredients for this recipe are common pantry staples, fresh chilies might not be something you always have on hand. When heading to the supermarket, look for chilies that are firm and brightly colored. You can use any variety of chili depending on your heat preference, from mild jalapeños to fiery habaneros.
Ingredients For Pickled Chilies Recipe
Chilies: Fresh chilies are the star of this recipe. Choose your preferred type based on the desired heat level. White vinegar: This provides the tangy base for the pickling liquid. Water: Used to dilute the vinegar slightly, balancing the acidity. Sugar: Adds a touch of sweetness to counteract the acidity and heat. Salt: Essential for enhancing the flavors and aiding in the preservation process.
Technique Tip for This Recipe
When slicing the chilies, make sure to wear gloves to protect your hands from the capsaicin, which can cause a burning sensation. Additionally, slicing the chilies into uniform pieces ensures even pickling and a consistent texture.
Suggested Side Dishes
Alternative Ingredients
sliced fresh chilies - Substitute with sliced bell peppers: If you prefer a milder flavor, bell peppers provide a similar texture without the heat.
sliced fresh chilies - Substitute with pickled jalapeños: For a similar tangy and spicy profile, pickled jalapeños can be used.
white vinegar - Substitute with apple cider vinegar: Apple cider vinegar offers a slightly sweeter and fruitier taste while maintaining the acidity needed for pickling.
white vinegar - Substitute with rice vinegar: Rice vinegar provides a milder acidity and a subtle sweetness, which can complement the chilies well.
water - Substitute with vegetable broth: Using vegetable broth can add an extra layer of flavor to the pickling liquid.
sugar - Substitute with honey: Honey can be used as a natural sweetener, adding a different depth of flavor to the pickling solution.
sugar - Substitute with agave syrup: Agave syrup is another natural sweetener that can replace sugar, offering a slightly different sweetness profile.
salt - Substitute with sea salt: Sea salt can be used as a direct substitute, providing a similar salty taste with potentially more minerals.
salt - Substitute with kosher salt: Kosher salt is less refined and can be used in the same quantity, offering a pure salty flavor.
Other Alternative Recipes Similar to This
How to Store or Freeze This Recipe
Ensure the jar used for storing the pickled chilies is sterilized. You can do this by boiling the jar and its lid in water for about 10 minutes. This step is crucial to prevent any unwanted bacteria from spoiling your chilies.
Once the pickled chilies have cooled to room temperature, seal the jar tightly with its lid. This helps maintain the freshness and flavor of the chilies.
Store the sealed jar in the refrigerator. The pickled chilies should be kept at a consistent, cool temperature to ensure they remain crisp and flavorful. They can be stored in the refrigerator for up to 2 months.
If you wish to keep the pickled chilies for a longer period, consider freezing them. Transfer the chilies and their brine into a freezer-safe container or a heavy-duty freezer bag. Leave some space at the top of the container or bag to allow for expansion as the liquid freezes.
Label the container or bag with the date of preparation. This helps you keep track of how long the pickled chilies have been stored.
When ready to use, thaw the pickled chilies in the refrigerator overnight. Avoid thawing them at room temperature to prevent any potential bacterial growth.
Once thawed, consume the pickled chilies within a week for the best taste and texture. Freezing may slightly alter the texture, making them softer, but the flavor will remain intact.
Always use a clean utensil to remove the chilies from the jar to avoid contamination. This practice ensures the pickled chilies stay fresh for as long as possible.
How to Reheat Leftovers
Stovetop Method:
- Place a small saucepan over medium heat.
- Add the pickled chilies along with a bit of the pickling liquid.
- Heat gently, stirring occasionally, until the chilies are warmed through. Avoid boiling to maintain their texture.
Microwave Method:
- Transfer the pickled chilies to a microwave-safe dish.
- Add a spoonful of the pickling liquid to keep them moist.
- Cover the dish with a microwave-safe lid or plastic wrap.
- Microwave on medium power for 30-second intervals, stirring in between, until heated through.
Oven Method:
- Preheat your oven to 300°F (150°C).
- Place the pickled chilies in an oven-safe dish.
- Cover the dish with aluminum foil to prevent drying out.
- Heat in the oven for about 10-15 minutes, or until the chilies are warmed through.
Steaming Method:
- Set up a steamer basket over a pot of simmering water.
- Place the pickled chilies in the steamer basket.
- Cover and steam for about 5 minutes, or until the chilies are heated through.
Sous Vide Method:
- Preheat your sous vide water bath to 140°F (60°C).
- Place the pickled chilies in a vacuum-sealed bag or a resealable bag using the water displacement method.
- Submerge the bag in the water bath and heat for about 30 minutes.
- Remove from the water bath and serve immediately.
Best Tools for This Recipe
Saucepan: A medium-sized pan used to heat and combine the vinegar, water, sugar, and salt mixture.
Measuring cups: Used to measure the precise amounts of vinegar and water needed for the recipe.
Measuring spoons: Used to measure the sugar and salt accurately.
Knife: Essential for slicing the fresh chilies into even pieces.
Cutting board: Provides a safe and stable surface for slicing the chilies.
Jar: A glass container with a lid used to store the sliced chilies and the vinegar mixture.
Lid: Used to seal the jar after filling it with the chilies and vinegar mixture.
Stirring spoon: Used to stir the vinegar mixture while it heats to ensure the sugar and salt dissolve completely.
Tongs: Useful for handling the hot jar and lid safely.
Cooling rack: Allows the jar to cool to room temperature evenly before sealing and refrigerating.
How to Save Time on Making This Recipe
Prepare ingredients in advance: Slice the chilies and measure out the vinegar, water, sugar, and salt ahead of time to streamline the process.
Use a mandoline: A mandoline slicer can quickly and uniformly slice the chilies, saving you time and ensuring even pickling.
Boil efficiently: Use a lid on your saucepan to bring the vinegar mixture to a boil faster.
Cool quickly: Place the jar of pickled chilies in an ice bath to cool it down faster before refrigerating.
Pickled Chilies Recipe
Ingredients
Main Ingredients
- 200 g Fresh chilies sliced
- 1 cup White vinegar
- 1 cup Water
- 2 tablespoon Sugar
- 1 tablespoon Salt
Instructions
- 1. In a saucepan, combine vinegar, water, sugar, and salt. Bring to a boil.
- 2. Place sliced chilies in a jar.
- 3. Pour the hot vinegar mixture over the chilies. Let cool to room temperature.
- 4. Seal the jar and refrigerate for at least 24 hours before using.
Nutritional Value
Keywords
More Amazing Recipes to Try 🙂
- Yam Cake Recipe Recipe1 Hours
- Wonton Noodles Recipe50 Minutes
- Nasi Minyak Recipe (Malaysian Ghee Rice)45 Minutes
- Malaysian Chicken Curry Recipe1 Hours
- Malaysian-Style Fried Udon Recipe30 Minutes
- Stuffed Crab Recipe (Poo Cha)50 Minutes
- Sambal Belacan Recipe15 Minutes
- Malaysian Chili Sauce Recipe30 Minutes
Leave a Reply